Contents
- 1
- 1.1 What We’re About to Learn (Spoiler Alert: You’ll Be a God)
- 1.2 Step 1: Editing Footage (AKA, Cutting the Crap)
- 1.3 Step 2: Adding Text (And Making It Sexy)
- 1.4 Step 3: Zooms & Motion (Because Static = Snooze)
- 1.5 Step 4: Editing Sound (Because Silence is Awkward)
- 1.6 Final Touches & Tips
- 1.7 Outro: You’re Officially an Editing Beast
Alright, my dudes (and dudettes), welcome to the ultimate Premiere Pro crash course. Whether you’re editing your latest gaming highlights, meme compilations, or the next cinematic masterpiece, this guide is your golden ticket to making fire content.
First, let me just say this: Welcome home. Yeah, this is your spot now. Subscribe, smash that like button, and don’t act like it’s optional—it’s rent-free, so you owe me this much.
Today, we’re leveling up your editing skills with some advanced Premiere Pro techniques. Don’t sweat it if you’re new to this—check the links in the description for the beginner stuff. But if you’re ready to unleash your inner editing beast, grab a drink, get comfy, and let’s dive into the chaos.
What We’re About to Learn (Spoiler Alert: You’ll Be a God)
Today, we’re covering the following magic tricks:
- Editing Footage: Cutting your clips like a samurai.
- Adding Text: Making it pop, shake, and look slick AF.
- Zooms and Motion: Because static shots are boring.
- Editing Sound: Perfecting those sound effects and music tracks.
By the end of this, you’ll be editing like a total chad (or queen), ready to take on the editing world with the finesse of a caffeinated squirrel.
 Step 1: Editing Footage (AKA, Cutting the Crap)
 Step 1: Editing Footage (AKA, Cutting the Crap)
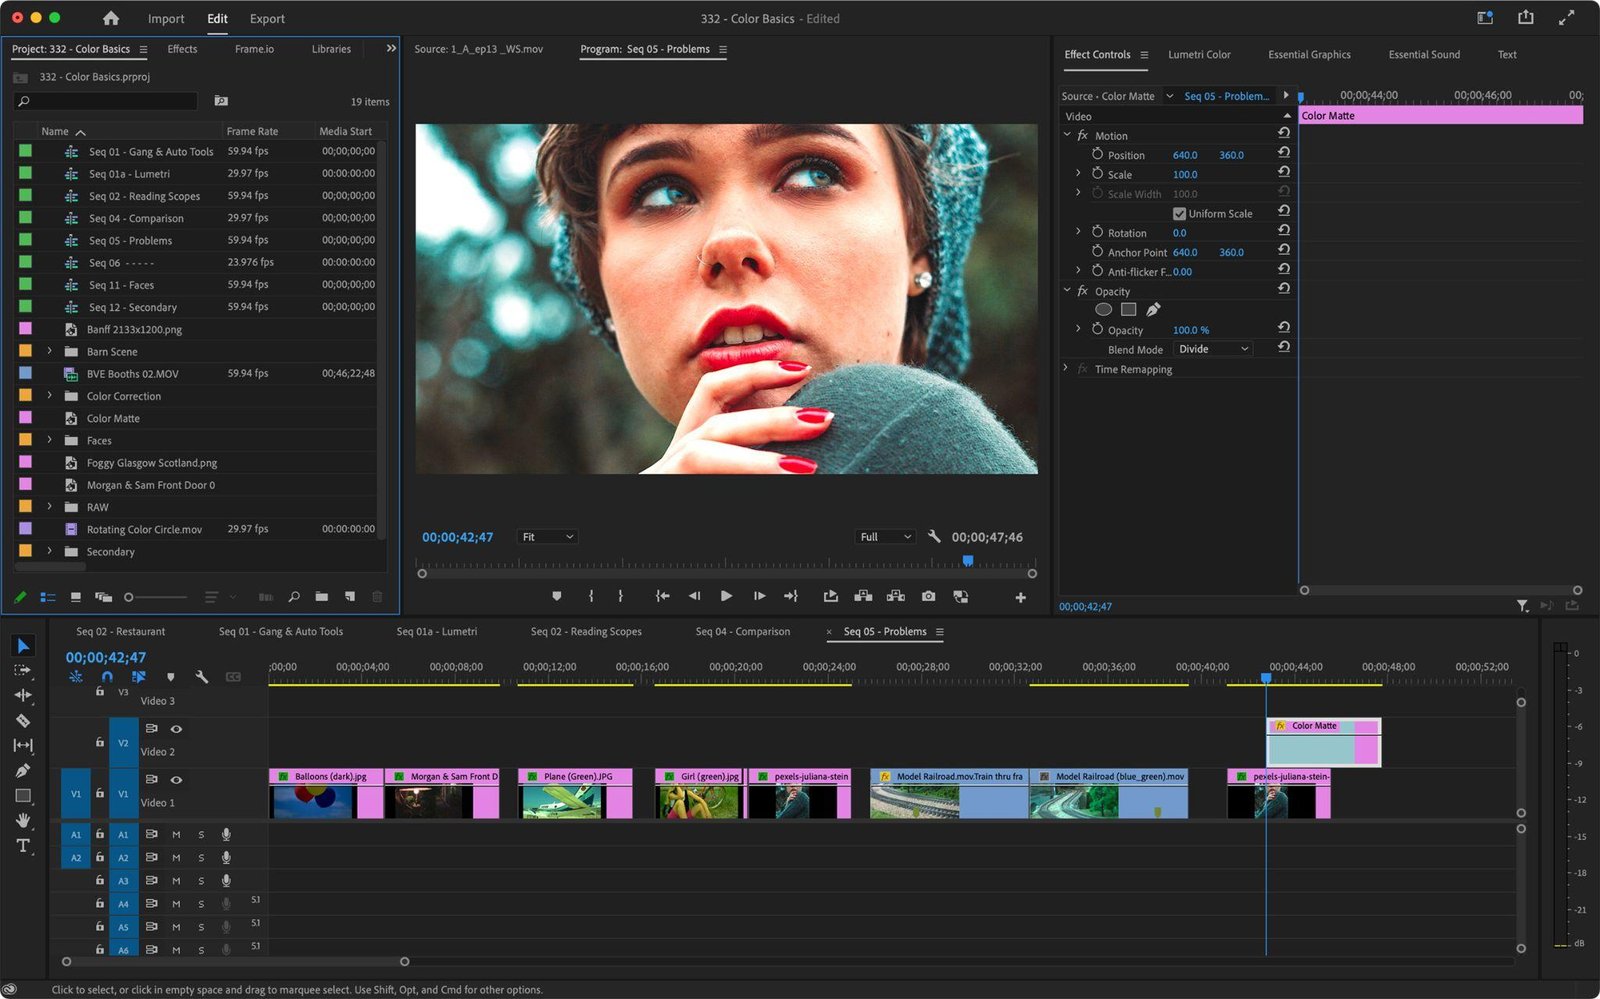
Alright, step uno. Before you can flex your editing skills, you’re gonna need some footage. Here’s how we do it:
Record Your Footage
Fire up your recording software. I’m using OBS Studio (link in the description, because I’m a legend). Hit that record button, capture the madness, and then we’re ready to roll.
Import Your Clips
Time to drag your footage into Premiere Pro. Here’s how:
- Open Premiere Pro.
- Drag your video file directly into the timeline, OR click File > Import to drop it into the Project Section.
- Drag it from the Project Section into the timeline to get started.
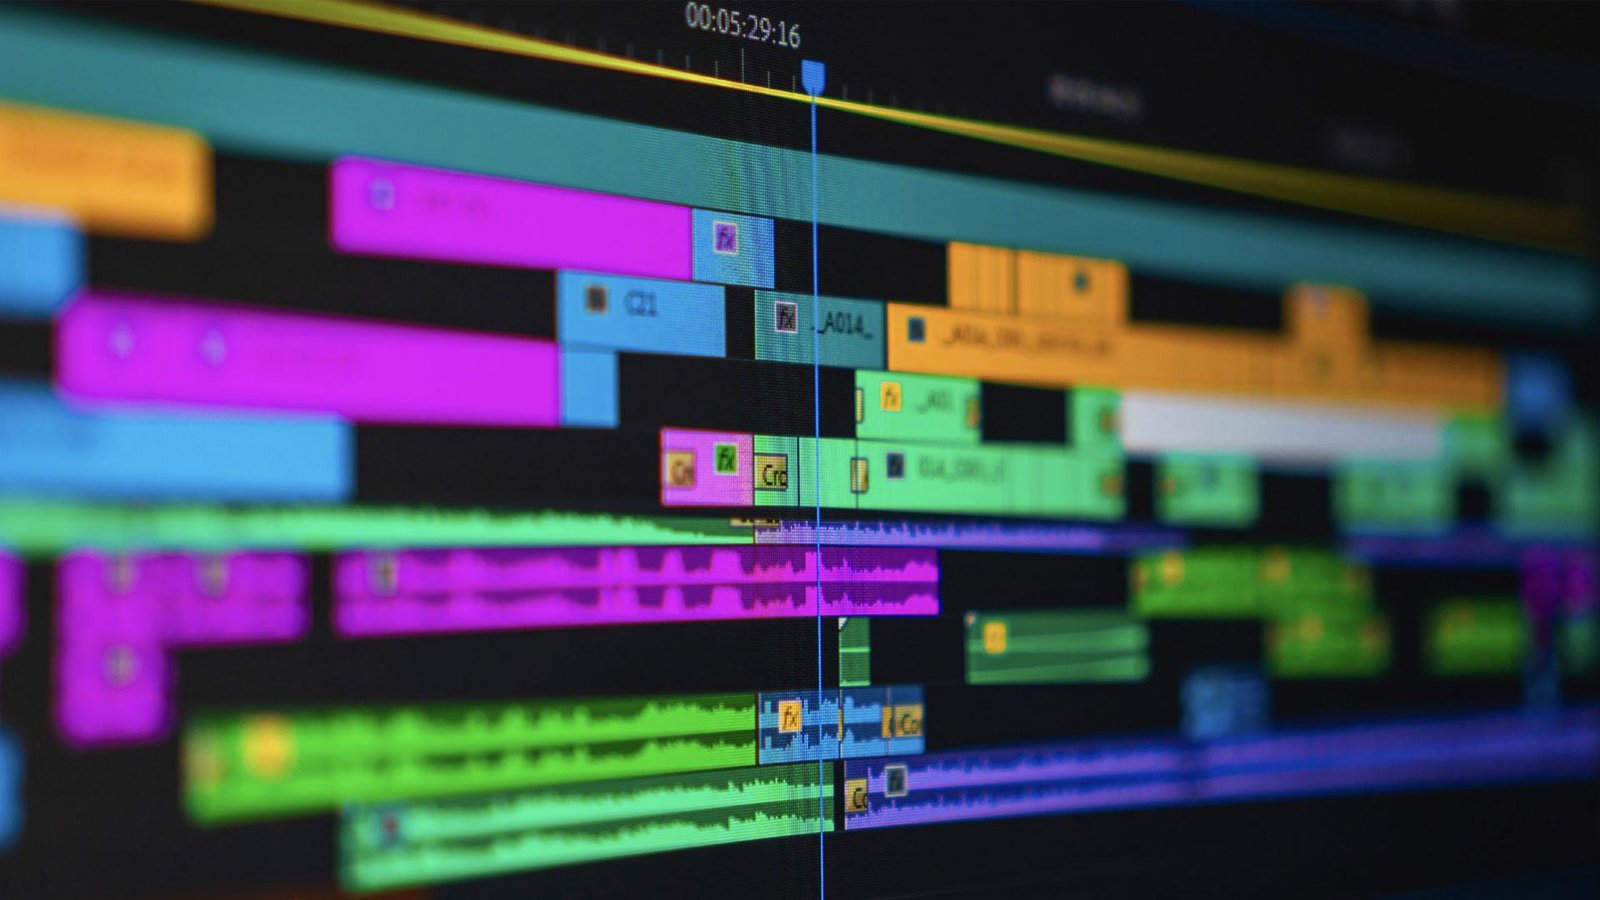
Cutting Your Clips
Editing = cutting out the boring stuff. Here’s the ninja move:
- Press C to activate the razor tool.
- Click where you want to slice.
- Switch back to the cursor by pressing V, then delete the stuff you don’t need.
Pro Tip: Press L while watching your footage to speed it up—saves you hours of rewatching that awkward silence. Also, look for audio peaks in the timeline (those spiky bits). They often signal moments when someone’s raging or something funny happens.
Step 2: Adding Text (And Making It Sexy)
Now, let’s make your clips shine with some captions and text animations. Basic text is for noobs—let’s go advanced.
Add Text
- Press Ctrl + T to add a new text layer.
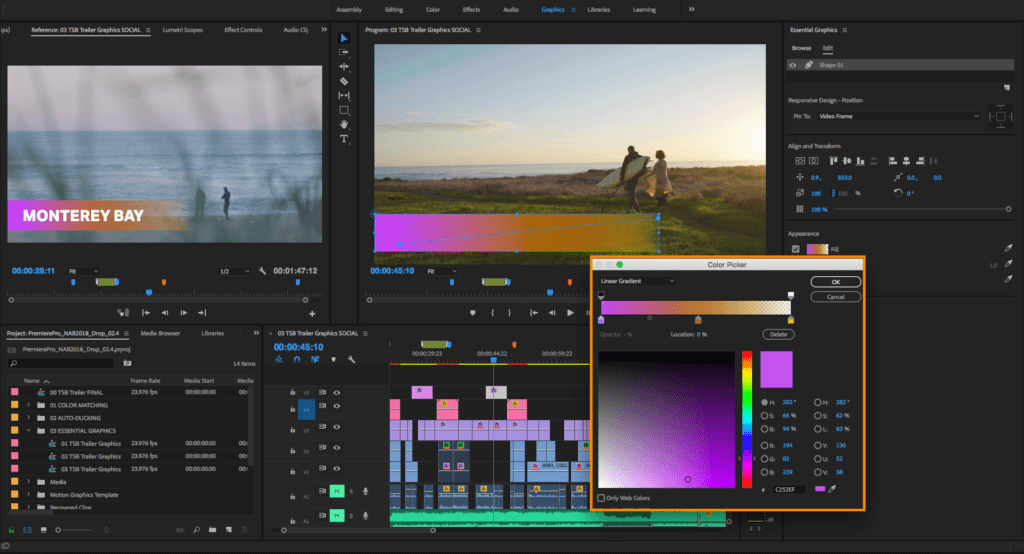
- Switch to the Editing Tab (top menu) to customize your font, size, and color.
- Use bold, non-serif fonts for readability and add a dark-colored stroke to make it pop.
Animate Your Text
Here’s how to give your text that oomph:
- Center your text by clicking the Align button.
- Under Transform, set the Scale to 80 and hit the stopwatch.
- Move forward a few frames, bump it up to 120, then forward again to set it back to 100.
BOOM. Your text now zooms in like a boss.
Pro Tip: If you want extra flair, adjust the Position and Rotation under Video Effects to make your text dance across the screen.
Add Shake Effects
Want your text to match the chaos of someone screaming or raging? Download a shake preset (covered in my last tutorial), slap it on the text, and watch it bounce like it’s had too much Red Bull.
 Step 3: Zooms & Motion (Because Static = Snooze)
 Step 3: Zooms & Motion (Because Static = Snooze)
Now let’s talk about zooming. A well-timed zoom can make or break a clip.
Basic Zooms
- Select the clip you want to zoom in on.
- Under Transform, click the stopwatch for Scale.
- Move forward a few frames and crank up the scale.
Your video now zooms in like a smooth operator.
Clean It Up with Blur
For that cinematic zoom:
- Cut the clip at the start and end of the zoom.
- Add a Camera Blur effect (find it under Effects).
- Set the blur to around 5%.
It’s clean, it’s sexy, and it’s Friday night approved. 
Pro Tip: Combine zooms with shake effects for moments of pure chaos—think someone screaming, a loud bass drop, or anything meme-worthy.
Step 4: Editing Sound (Because Silence is Awkward)
Audio is half the battle, my friends. Let’s make your clips sound as good as they look.
Add Sound Effects
Want those iconic booms, zoinks, or yeets? Here’s how:
- Search for the sound effect on YouTube.
- Use a YouTube-to-MP3 converter to download it (or check out 4K Video Downloader—that’s my jam).
- Drag the sound into Premiere and align it with your video.
If it’s too loud or quiet, right-click the sound, select Audio Gain, and adjust.
Add Music (Without Getting Sued)
Music can make or break a video, but copyright strikes are no joke. I recommend using a royalty-free music library like Epidemic Sound or Artlist (link in the description—yeah, I’m plugging that).
Once your music is in, lower the volume slightly so it doesn’t overpower your dialogue or sound effects.
Final Touches & Tips
Here’s the secret sauce to take your video from good to damn good:
- Sync Everything: Make sure your sound effects, music, and animations line up perfectly. Precision = professionalism.
- Experiment: Try different transitions, effects, and styles. Editing is an art, and there are no rules.
- Save Frequently: Premiere Pro loves to crash at the worst moments. Ctrl + S is your best friend.
 Outro: You’re Officially an Editing Beast
 Outro: You’re Officially an Editing Beast
And there you have it, my editing wizards. You’ve just unlocked the skills to transform your videos from meh to masterpiece. Whether you’re creating dank memes, gaming montages, or cinematic highlights, you’ve got the tools to slay the game.
Now go forth, create chaos, and remember—it’s Friday night, it’s Saturday, Sunday… WHAT?!
Later, nerds.